How to use the Zendesk-JIRA connector app by integratecloud
 Updated
by
Kelly watts
Updated
by
Kelly watts
How to use Zendesk- JIRA App by IntegrateCloud follow the below steps:
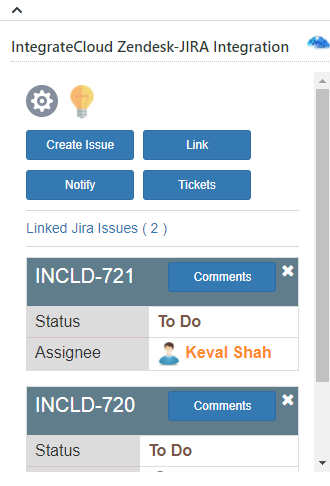
In the app we have 4 options.
- Create Issue
- Link Issue
- Notify
- Tickets
Create issue
- a User must migrate to a Ticket Page or must open a New Ticket.
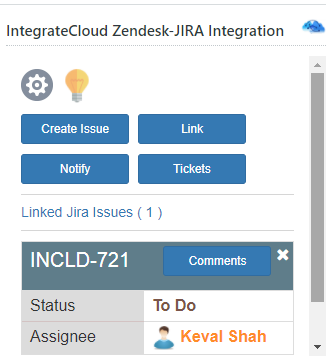
There on the extreme right side user will be able to see “Integratecloud Zendesk-JIRA Integration APP”
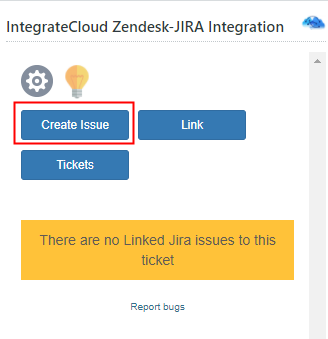
- When a user clicks on the Create Issue button it loads the JIRA Project Name and Issue Type.
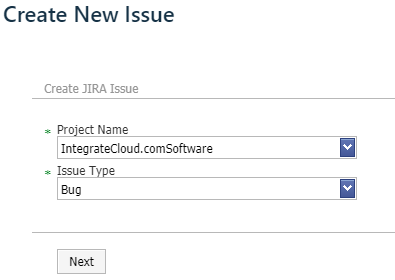
- Based on the selection it will load all the JIRA fields like System fields (Summary, Description etc.…).

- Users can scroll down to see the Custom Fields created & add the relevant data in it.
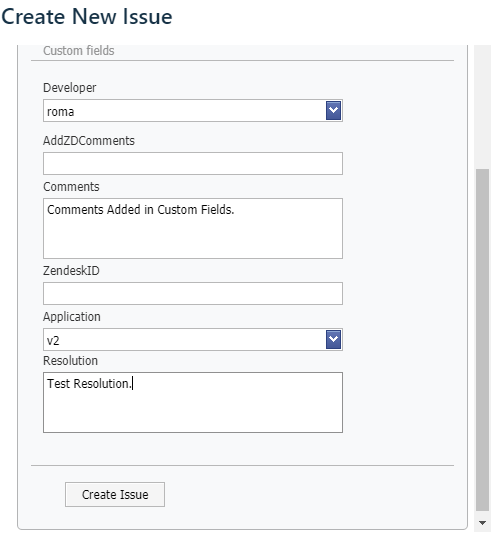
Click on the Create Issue button at the bottom of the page when the data is added.
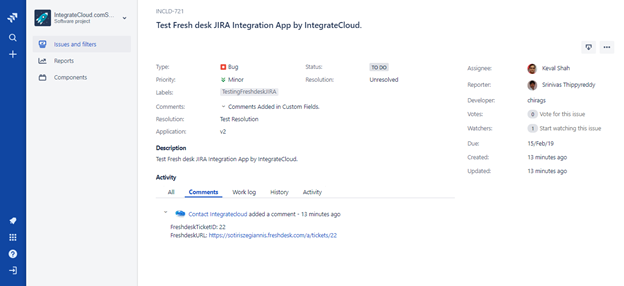
- By clicking on the Create Issue button the issue will be created & the JIRA Ticket Number will be displayed below the Crate Issue button on the same page.
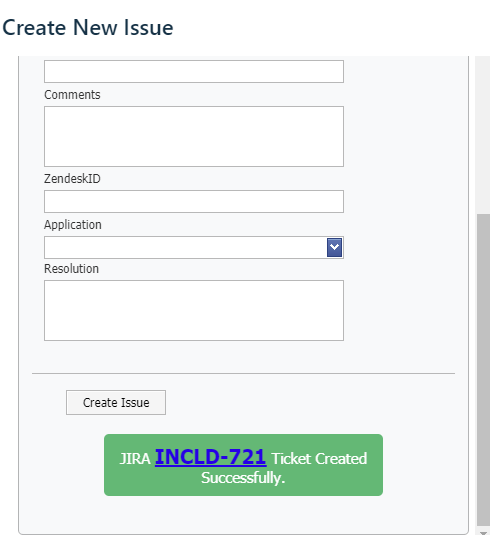
Users can click on the JIRA ticket number to open JIRA Ticket.
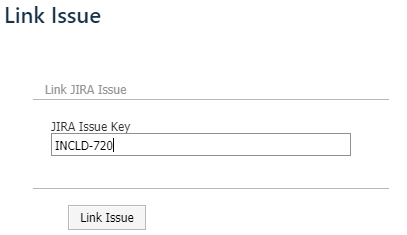
Links issue: -
This button allows you to link an existing JIRA Ticket. It can be linked to one or multiple JIRA issues.
- Users have to only enter the JIRA Ticket Number.
- Once the issue is linked user shall receive a message “Zendesk ticket successfully linked to Jira issue key”.
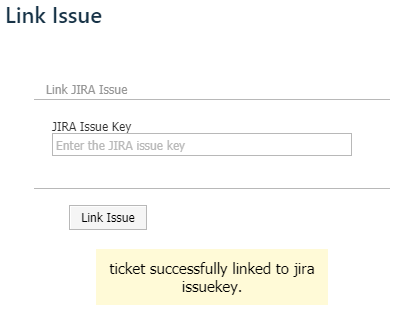
- Users can verify the Linked Issue Keys in the app.
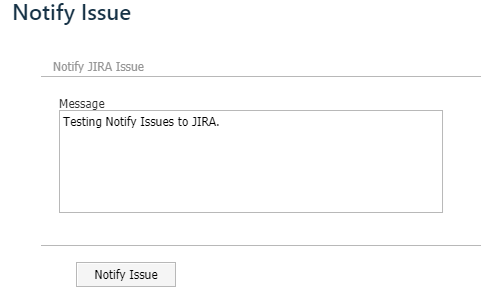
Notify JIRA issue: -
This button allows the user to send notifications to all the Linked JIRA Issues.
- When the User clicks on Notify Issue it redirects to the notify Issue Page where the user can type its message.
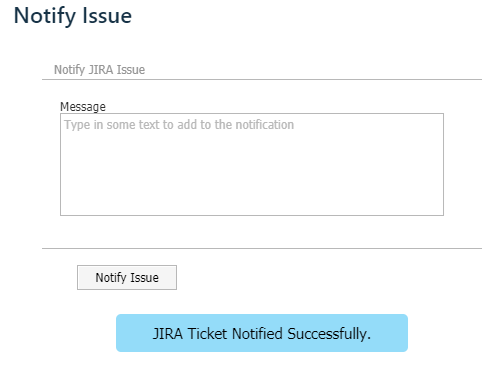
- By clicking on the Notify button user get a message “JIRA Ticket Notified Successfully.”
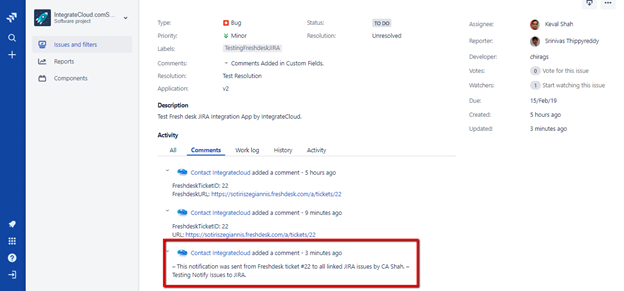
- Users can verify the Notify message in the JIRA Ticket Comments log.
Tickets: -
This button shall display all the Zendesk Tickets & their corresponding JIRA Tickets.

When the User click on JIRA Ticket Id or Zendesk Ticket Id user will be redirected to that Ticket Id